Collect the Right Tools
This guide will allow you to see the time that goes into painting your exterior home and the effort needed to get the job done right. Follow this simple guide for a quick and easy room transformation.
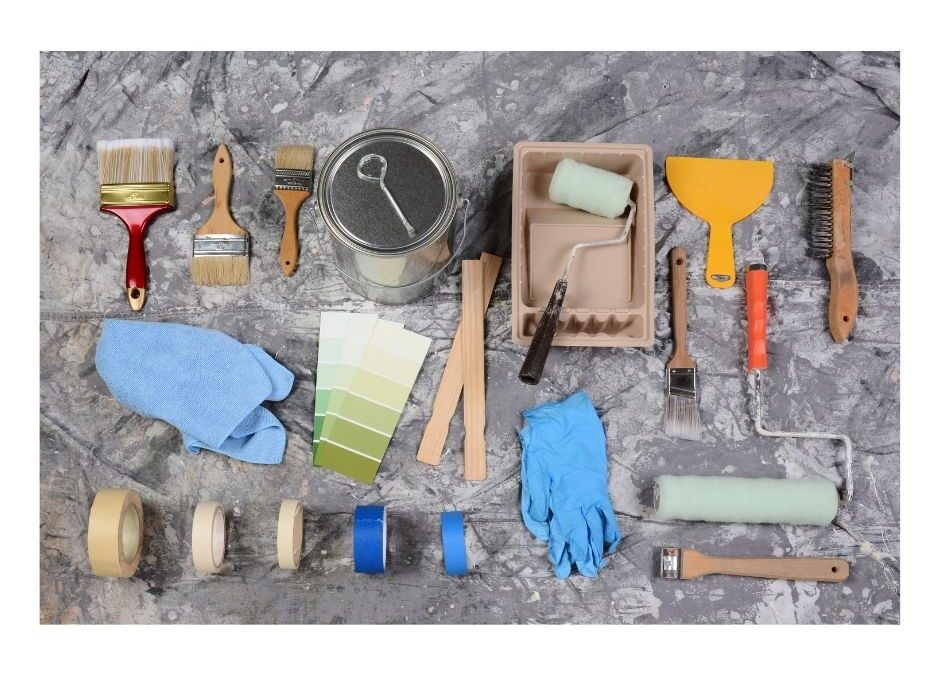
When preparing to start any project you need to make sure all the right tools are accounted for. Different projects require various materials depending on your design vision, paint and condition of the walls. Here’s a basic list.
- Paint
- Paintbrushes
- Paint roller
- Paint tray
- Paint tape
- Sandpaper
- Extension pole
- Putty knife
- Filler
- Drop cloths
Pick your color
When deciding the color of your room, consider if you would like every wall painted or just one? Feature walls are a popular way to add a pop of color without overwhelming the room. Your personal taste will determine if you enjoy complementary or contrasting colors. Flesh out a room with highlight moldings on the windows and doors. It’s an easy way to add depth and personality. Try to imagine how you want your room to feel. Remember, you are in no way limited to one color. Focus on how the color scheme will best represent your personal style and warmth. Bright and playful would include warm colors such as red, orange and yellow families. Be sure to consider the furniture, art and rest of the home to make sure your vision comes together.
Stuck on what color might look best in your home? Give us a call for an in-home color consultation proudly using Sherwin Williams.
Protect anything you don’t want painted
Start preparing the room by emptying it of all furniture. If there are heavy pieces and you’re working with lots of room, it can be pushed to the center. As long as you have enough room to safely move, don’t sweat it.
Cover the floor and your furniture with a drop cloth or a plastic sheet to avoid any paint splatter. The last thing you want is another mess to clean up when you’re done. Save yourself and/or partner from the stress and properly prepare.
Prepare surfaces
Before you start, look over the walls for signs of considerable flaws such as cracks and holes that may need to be fixed. Sanding and filing is necessary to a polished finish. This is where the sandpaper, fillers, chalk and cleaning products will be valuable to you.
Always order more paint than you need. This way, you’ll have extra for touch-ups when needed.
Apply painters tape to the walls, rooms corners, skirting boards, door frames, light switches, windows and moldings. This will allow you to feel confident without a steady hand.
Paint like a pro
Painting your ceilings, walls and trim with complete confidence. Once the surfaces are prepared and furniture is covered you can begin to actually paint. The correct order is to work from top to bottom. Begin with the ceiling and work your way down to the walls.
Start by mixing your paint.
Safely climb up the ladder and “cut in” along the ceiling with a paint brush.
Let the roller do the work. To paint the ceiling, attach a paint roller to an extension pole. Working in grid-like sections will allow you to see your progress while ensuring an even coat.
Repeat this process when painting the walls, use a brush for edges then a roller, remember to work from the top to the bottom.
Last but not least, accents. Be sure to sand the cracks to prepare the surface. Tape the crease where the wall and skirting meet, then apply two coats of gloss or eggshell paint with a small paintbrush.
Let dry, remove the tape and you’re finished!
For more information visit our website at Ivan’s Painting